As you know, smartphones these days have fantastic cameras. You can do so much with the phone you carry in your pocket. You can even sometimes avoid paying an expensive restaurant photographer if you know how to take great photos using your phone. While it still takes practices, it’s not too difficult. So let’s dive into some ways you can make your photos stand out while saving you time & money… Here’s how you can use your phone to get pro-level photos of your restaurant’s food!
1. Use Gridlines on Your Photo App
One of the best ways to make your food photos look more appetizing and professional is to learn about the Rule of Thirds. This is a photography concept that basically means to cut what you see on the camera into 9 pieces and think of your photo as 3 sections both vertically and horizontally. Once you’ve done that, position your food on an intersection where two of the gridlines meet for a more natural and pleasing effect. To make this easier, most phones have a feature to add a grid to your camera. We also keep our grid setting on to be reminded of the Rule of Thirds.
How to Turn Gridlines On
- On iPhone: Go to Settings, go to Photos & Camera, and turn the “Grid” toggle switch On.
- On Samsung Galaxy: Launch the camera app and go to Settings. Scroll down and switch the grid lines option to On.
2. Focus Only on 1 Item
Trying to include more than one food item in your photographs will make it harder for people to focus on what your photo is actually about. Since we all want to make our food photos more impactful in our restaurants, we need to minimize the distractions and focus on one main subject.
3. Make Sure Your Phone’s Camera is in Focus
Cell phone cameras are very smart… they are designed to auto-focus for you so you don’t have to worry about it and can quickly point and shoot. However, if you’re planning a photo and want it to be more effective, use the manual-focus feature by tapping the screen where your food is in your picture to make sure your camera is focused in the right spot. If you find it hard to keep it focused in one spot, try tapping that spot on the screen and holding your finger on the screen. It should indicate to you that the focus has locked into place so you won’t have to worry about it losing focus on you at the moment.
4. Take Advantage of Negative Space
Negative space is the space in your photo that isn’t the subject of the photo.
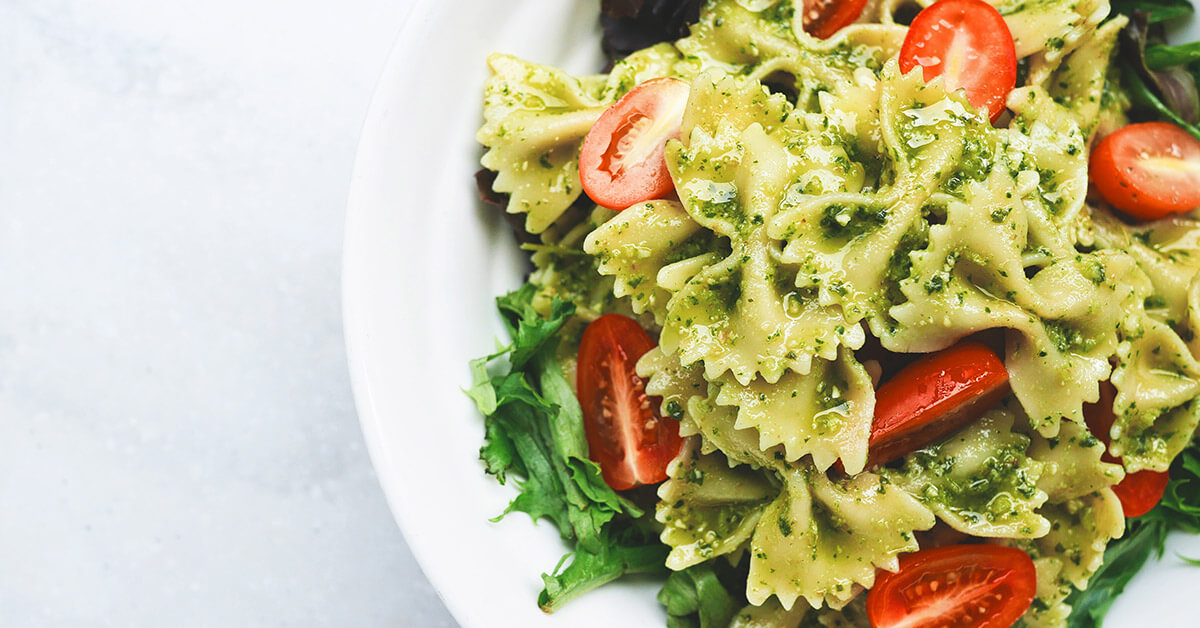
The space where the food isn’t. Using more negative space can make a photograph look very professional and clean. It also makes your food stand out more which will have a more powerful impact on the viewer.
5. Avoid Using the Zoom Feature on Your Food
Using the zoom feature on a phone’s camera often times can create a more grainy or blurry image, ultimately making the photo lower quality. If you want an up-close photo and need to get closer to the food, try everything you can to physically get the phone closer to it instead of using the zoom feature.
6. Try Micro Shots
Getting up close to your food will help you pick up small and interesting details you wouldn’t see otherwise. Think about shininess, rough & smooth textures, etc. This is especially useful when photographing food. This will make your photographs more compelling and appetizing. You want the viewer to be able to almost taste it when they see it.
7. Natural Light is Your Best Friend
Using natural light will turn your food photography from just “eh” to “wow!” in an instant. Turn your flash off your phone and take advantage of the natural light around you. If possible, take your food plate near a window or outside so you can get true natural lighting. Having your Flash turned on your phone camera can completely ruin images most times.
8. A Mobile Tripod for Stability
Investing in a mobile tripod for stability is one of the easiest ways to up your food photo game. They make tripods specifically for phones and they work great. You can find them priced anywhere between $12 and $40 on Amazon. We’ve tried two on Amazon and we recommend a $30+ version for quality sake. The ones available that are closer to $12 are fairly flimsy and are more likely to break.
We hope you enjoyed this article! While taking photos of your food can be a bit of work, you can really get some good ones if you practice these skills regularly. If you simply don’t have time, we work closely with a professional
food photographer in the Charlotte, NC area that does fantastic work. We can refer you to them too if you wish.


